

Custom Invoice Branding
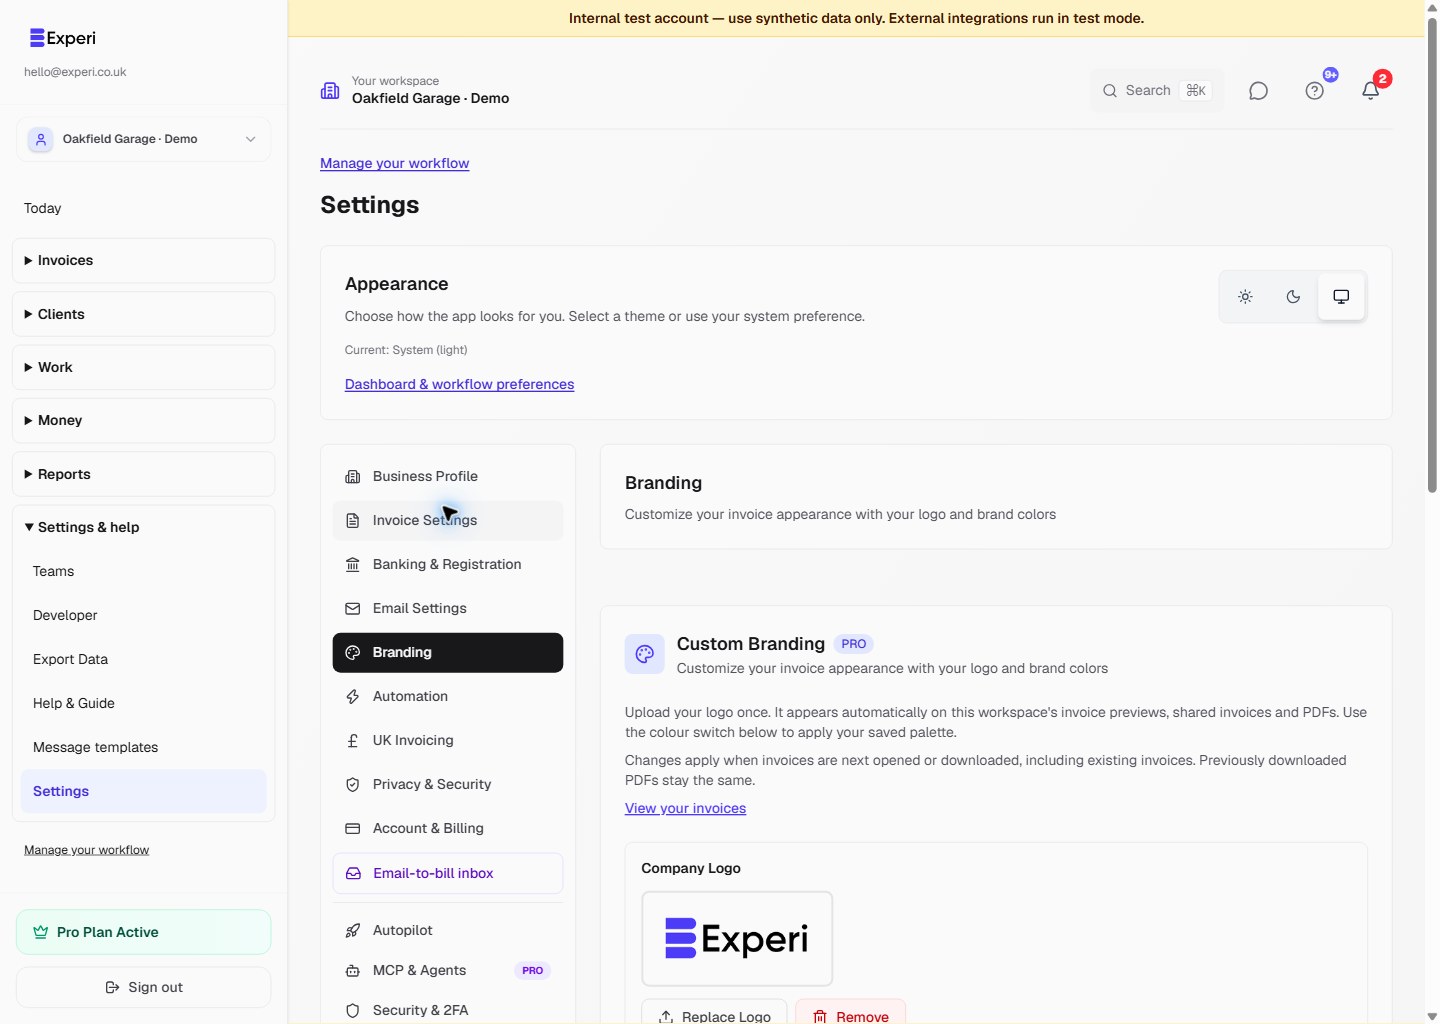
Open Settings → Branding in the correct workspace. Custom invoice branding requires Pro and permission to edit that business's settings.
Upload the business logo
- Choose Upload Logo and select a PNG, JPG or WebP file up to 2MB. The screen recommends an image around 400×150px.
- Wait for the preview to appear. A broken or missing preview means the upload has not completed successfully; do not assume it will appear on the invoice.
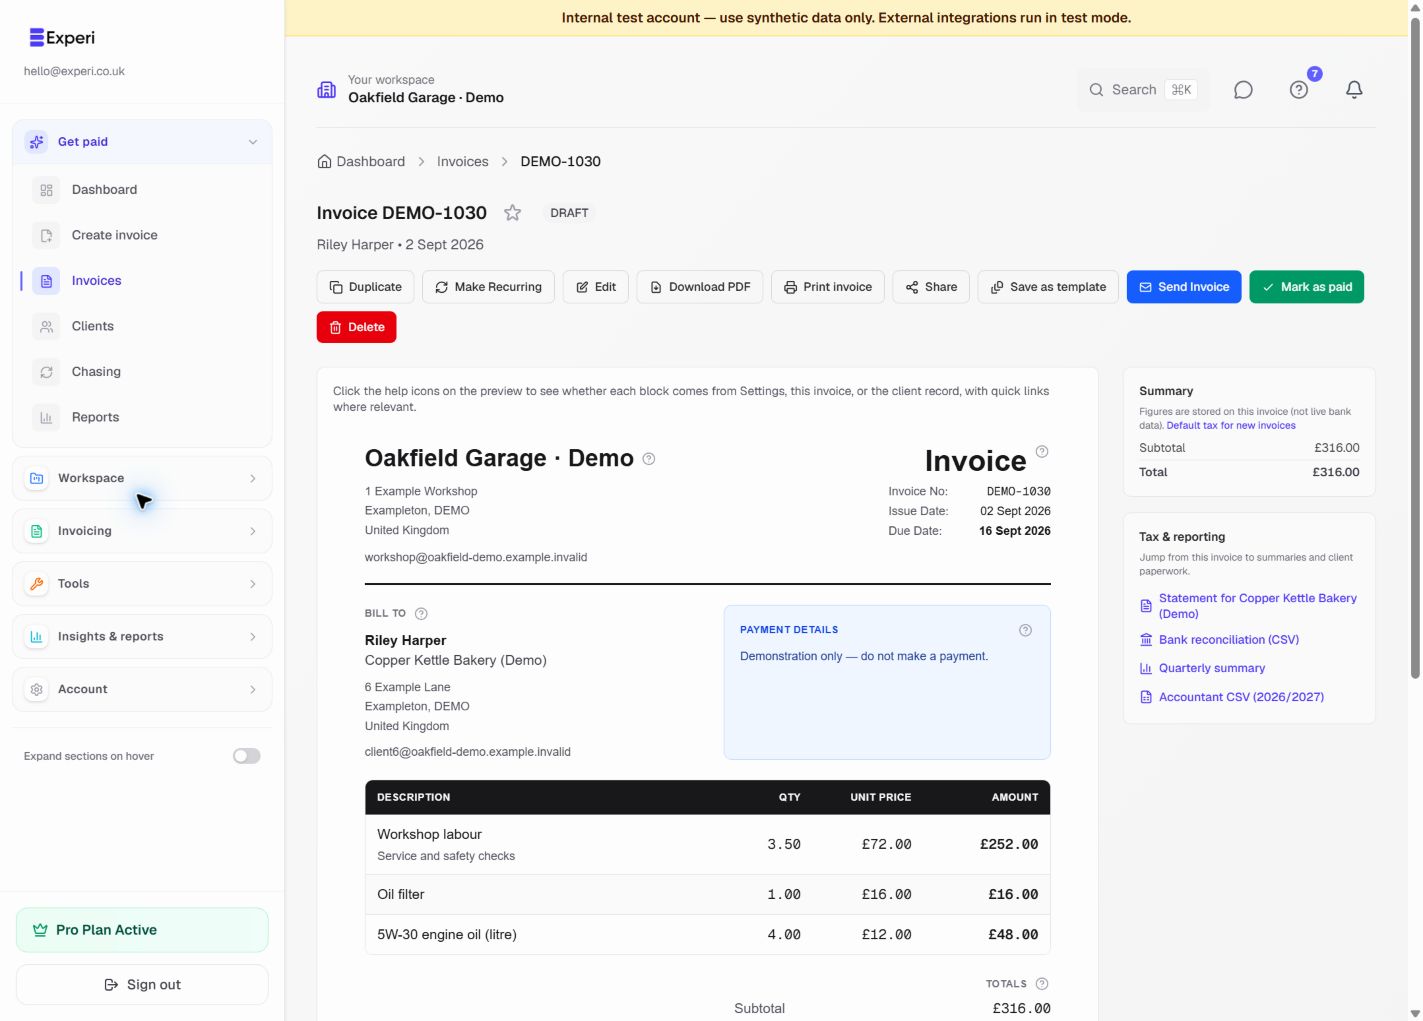
- Open an invoice and check the preview before sending a customer document.
The uploaded logo is stored for the selected business. It appears automatically in invoice previews, shared invoice pages and newly generated invoice PDFs while the owner has Pro. A PDF you downloaded earlier is a separate file and is not rewritten.
Choose invoice colours
Enable custom colours when you are ready, then choose the primary colour for headings, secondary colour for text and accent colour for highlights. Use Save Brand Colors and check an invoice at desktop and print size. Keep enough contrast for customers to read totals and payment details.
The Show “Sent with Experi” on invoices control is separate. Review it alongside the logo and colours before sharing a document.
Find the result on an invoice
Open any invoice and use Customise invoice branding · Pro to return to Branding. The invoice preview, public shared view and a newly downloaded PDF use the same business branding rules. Sending the invoice does not require you to attach the logo manually.
Email sender details and reusable email wording live under Email Settings and Message Templates. Invoice numbering, payment instructions and footer text live under Invoice Settings. Branding does not provide a general font or page-layout editor.
If a logo fails to load, remove it, check the file type and size, upload it again and confirm the preview before sending. Contact hello@experi.co.uk if the stored preview remains broken.
See business-profile setup, creating an invoice and business settings and integrations.