

Start by checking the workspace name in the header. Business Profile belongs to the selected business, while Account & Billing and sign-in security belong to your own account. Owners and admins can edit business settings; other roles may see read-only controls.
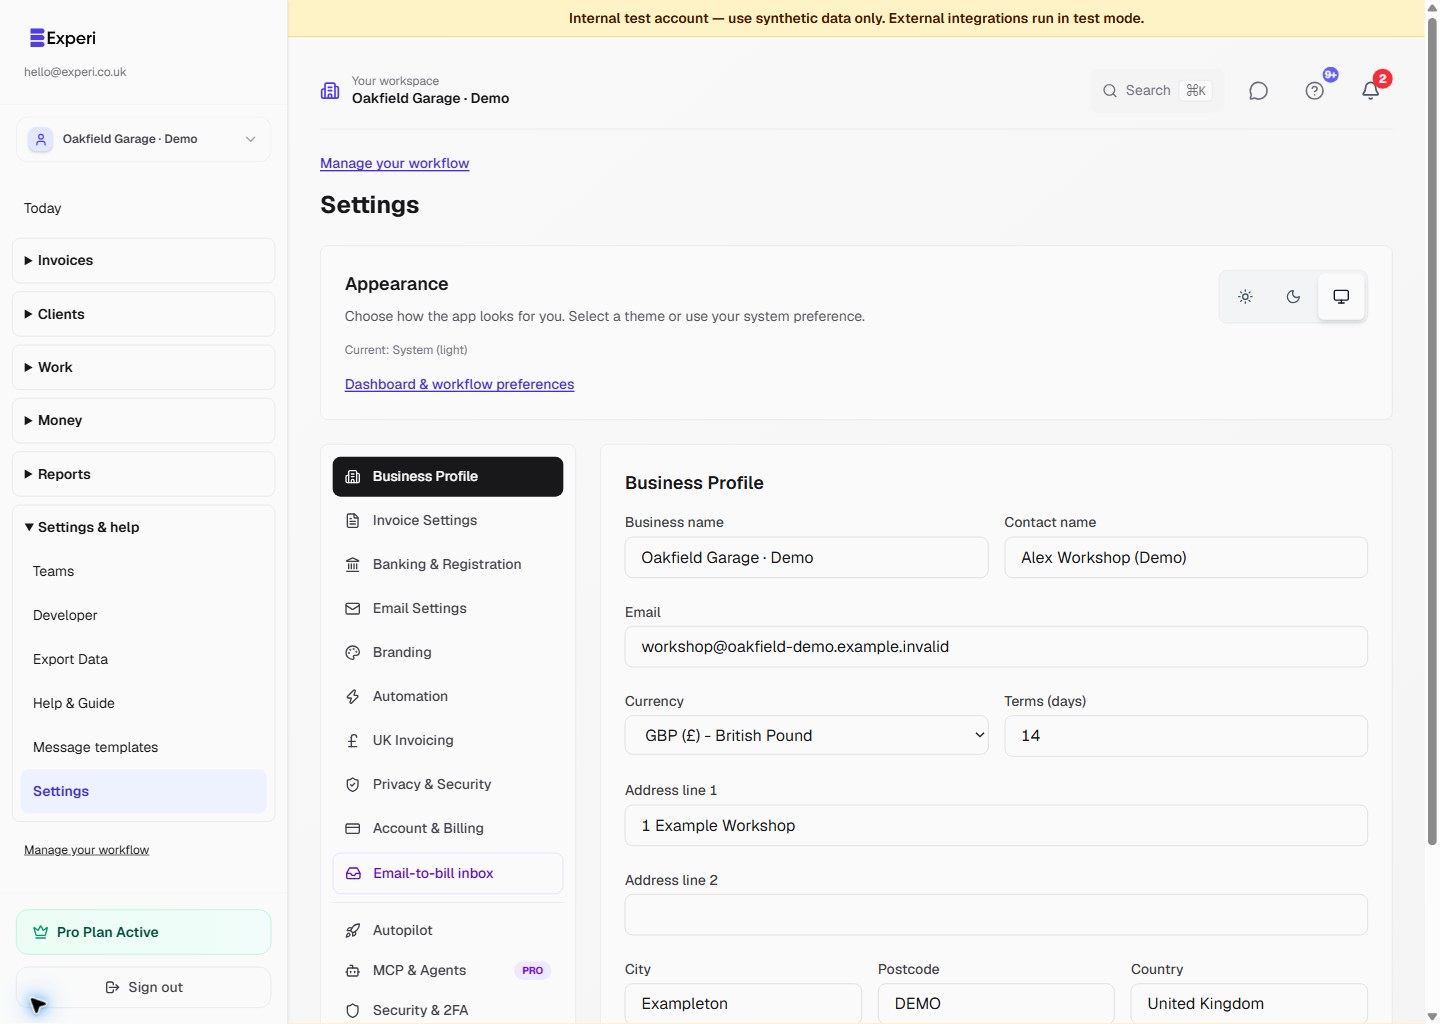
Follow the business-profile screenshot
- Open Settings → Business Profile.
- Enter the business or trading name and contact name.
- Add the business email and address, including city, postcode and country. Address line 2 and website are optional.
- Review the default Currency and Terms (days).
- After making your changes, use Save changes and check the confirmation.
Use your own business contact details and check them carefully before saving.
Set invoice defaults separately
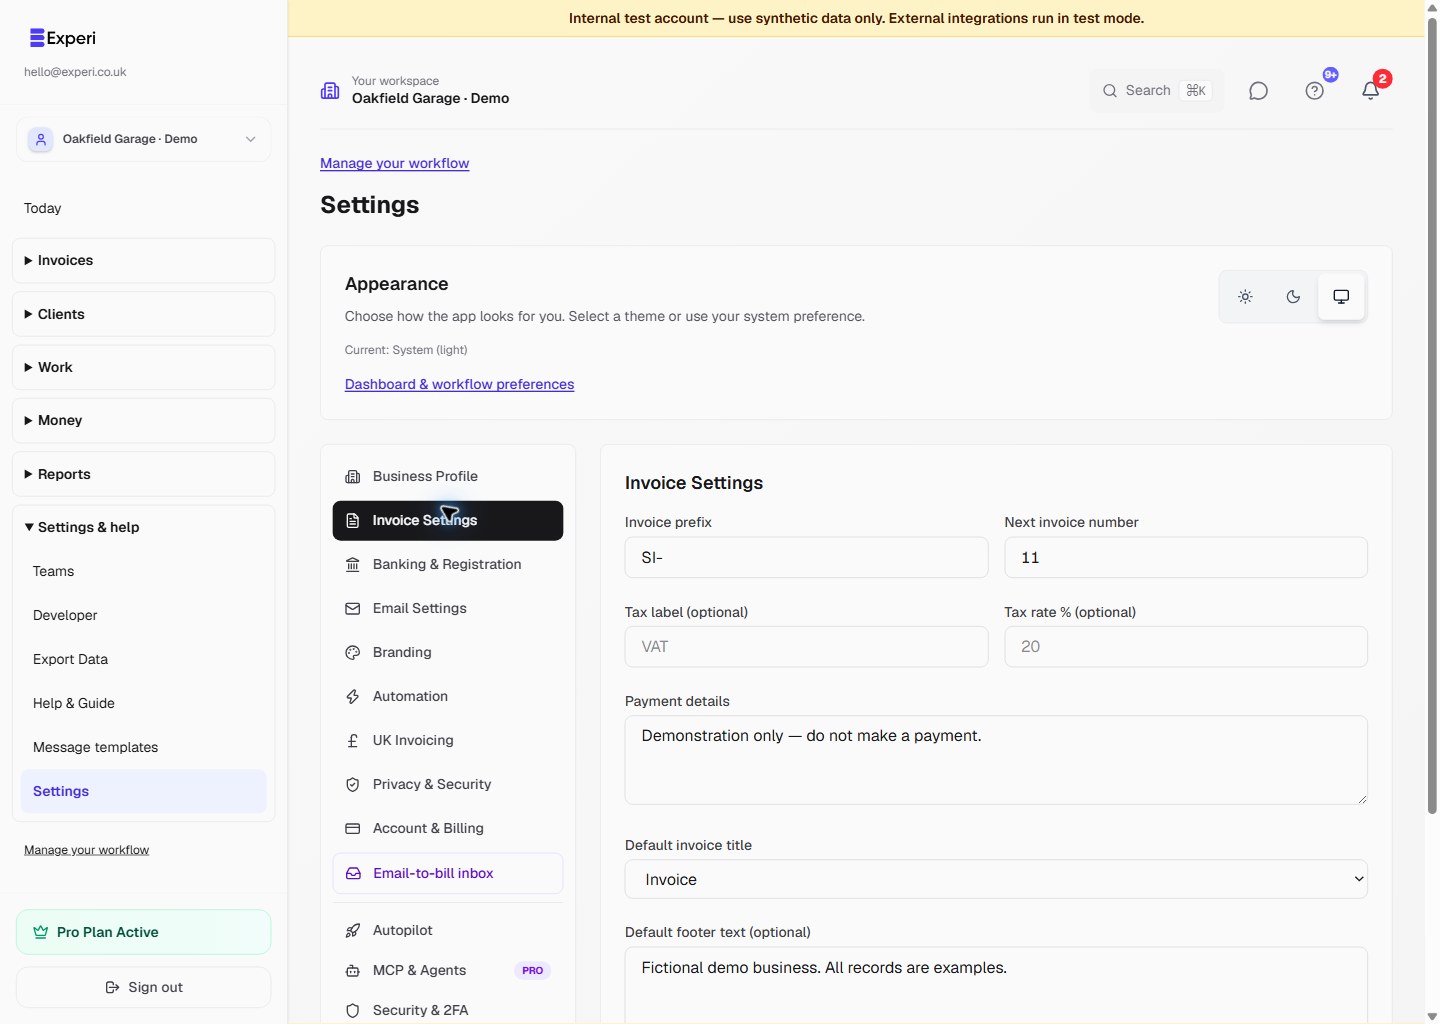
Open Invoice Settings for the invoice prefix, next invoice number, tax label/rate, payment details, default title, footer and payment terms. These are different from saved invoice line-item templates.
The second screenshot shows these controls. Review numbering carefully to avoid reusing an existing invoice number. Only enter tax information appropriate to your business; a placeholder is not a recommendation to charge tax.
Banking, registration and branding
Use Banking & Registration for bank and company-registration details, including VAT information where applicable. There is no phone-number field in the Business Profile form.
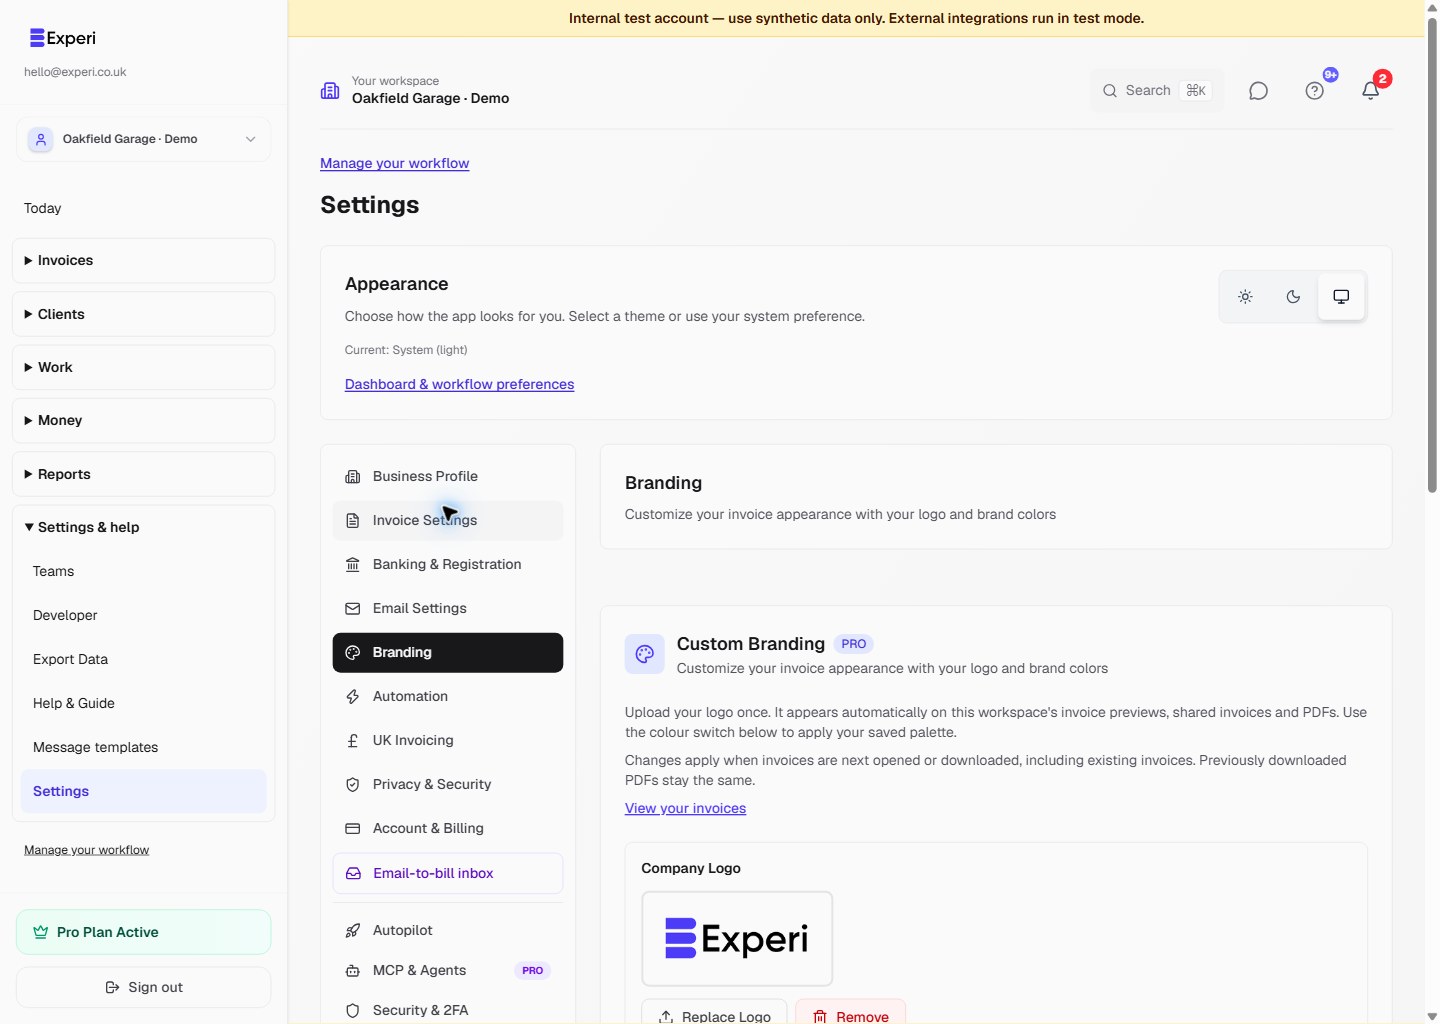
Use Branding for the Pro logo and colour controls. The current logo uploader accepts PNG, JPG and WebP files up to 2MB and recommends 400×150px. Uploads and some branding switches have their own save behaviour, so review them before acting.
Check the customer-facing result
Open a draft invoice and review the business details, currency, payment instructions and footer before issuing it. Changing defaults does not mean historical documents have been rewritten.
See custom branding, account settings and invoice creation.