

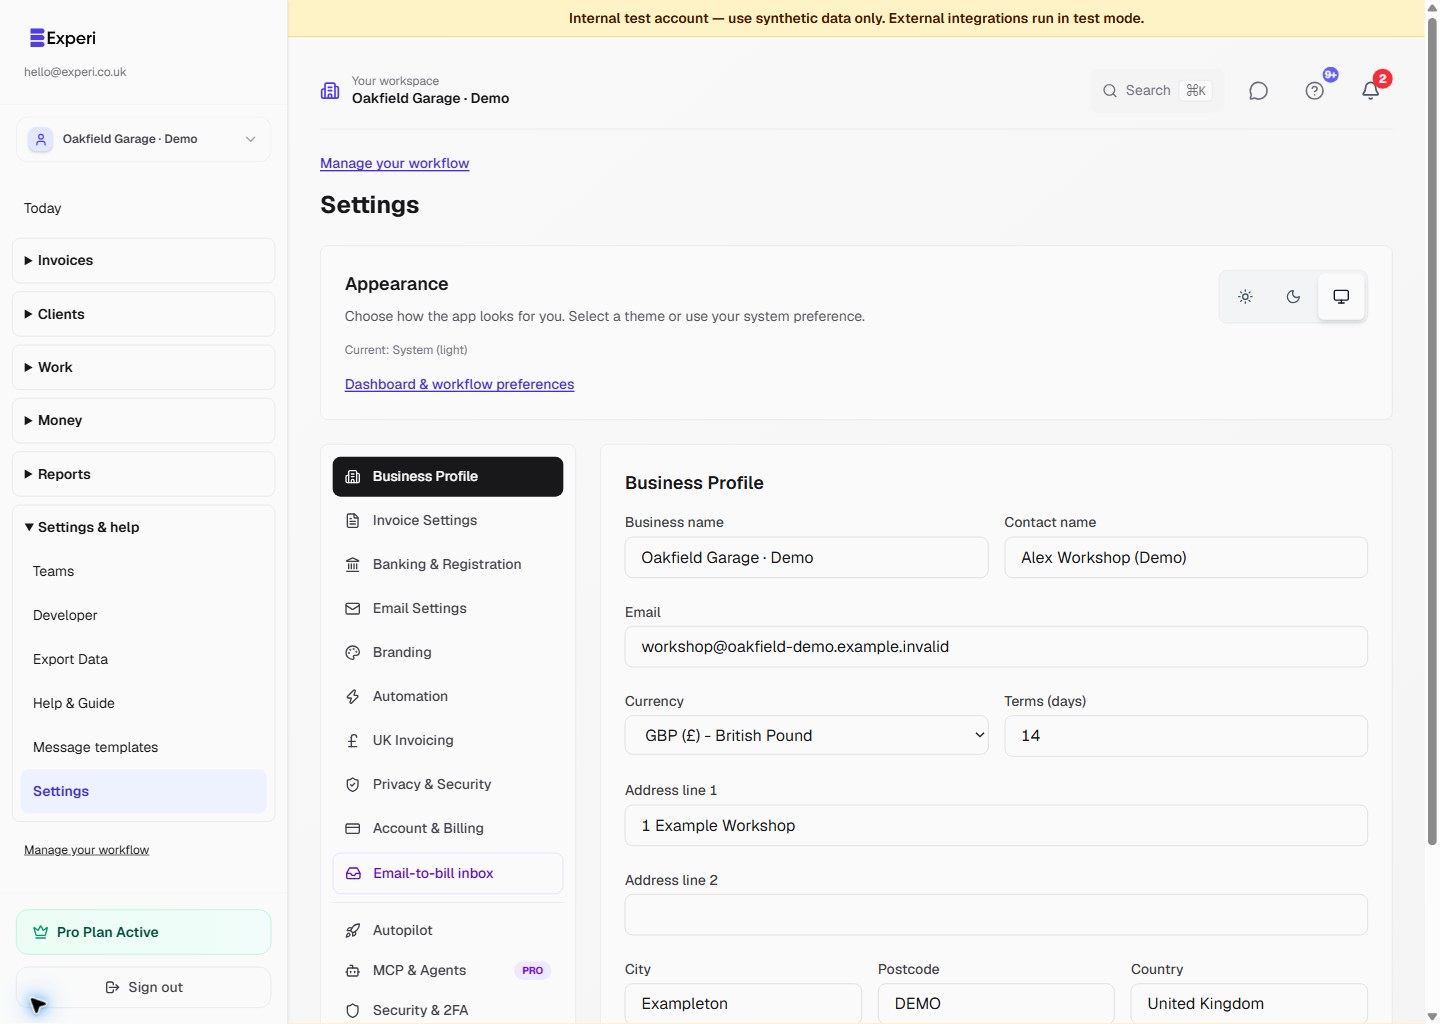
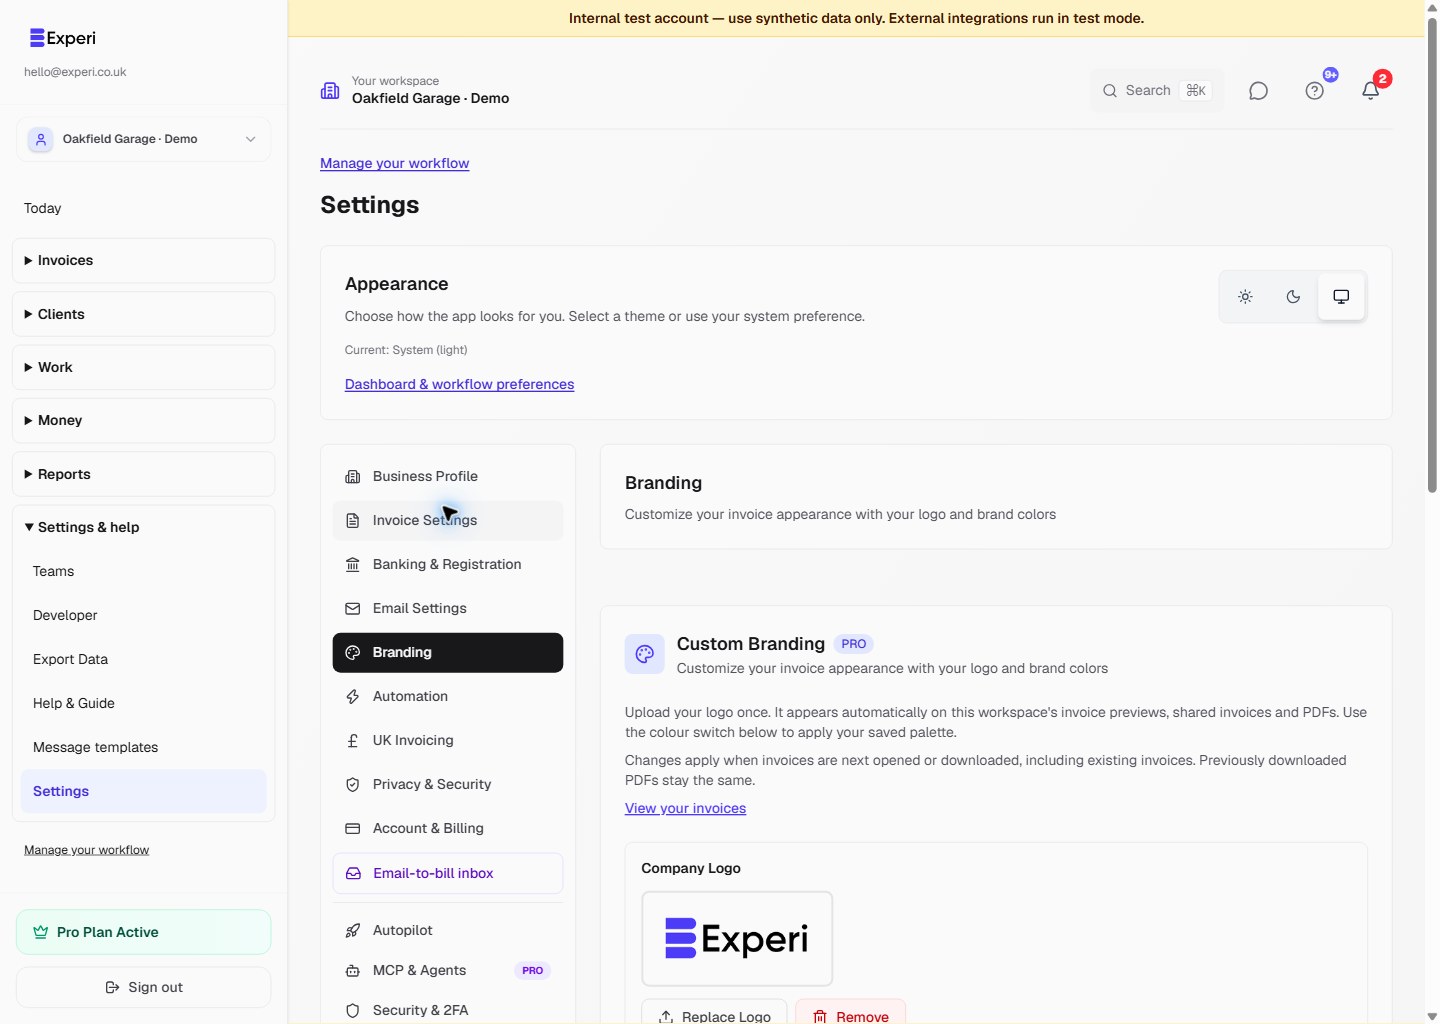
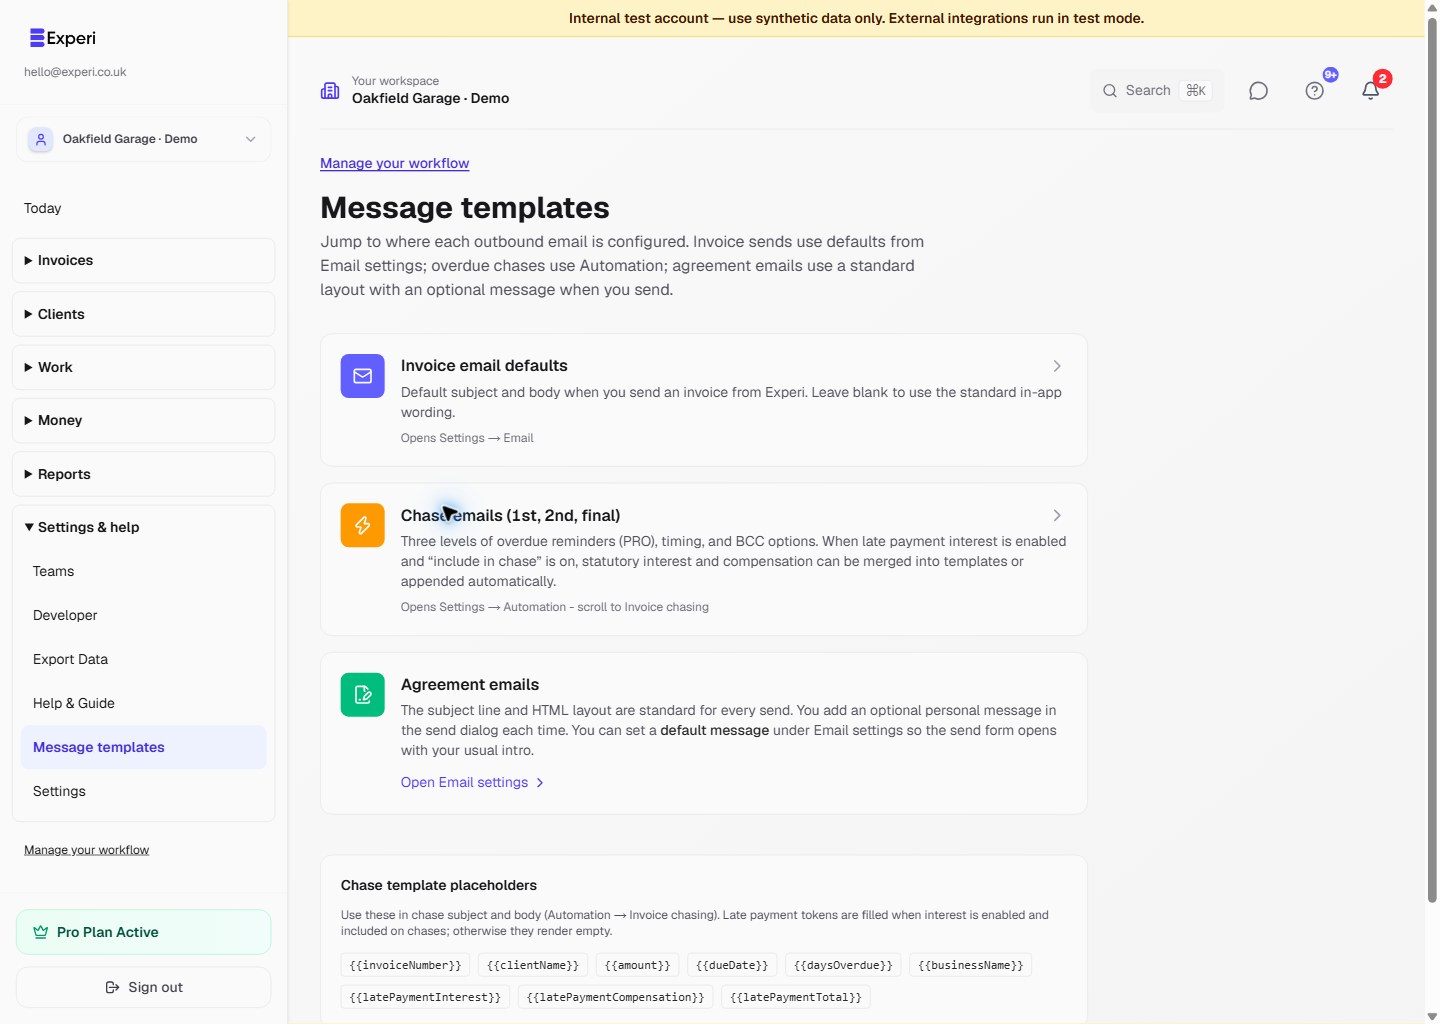
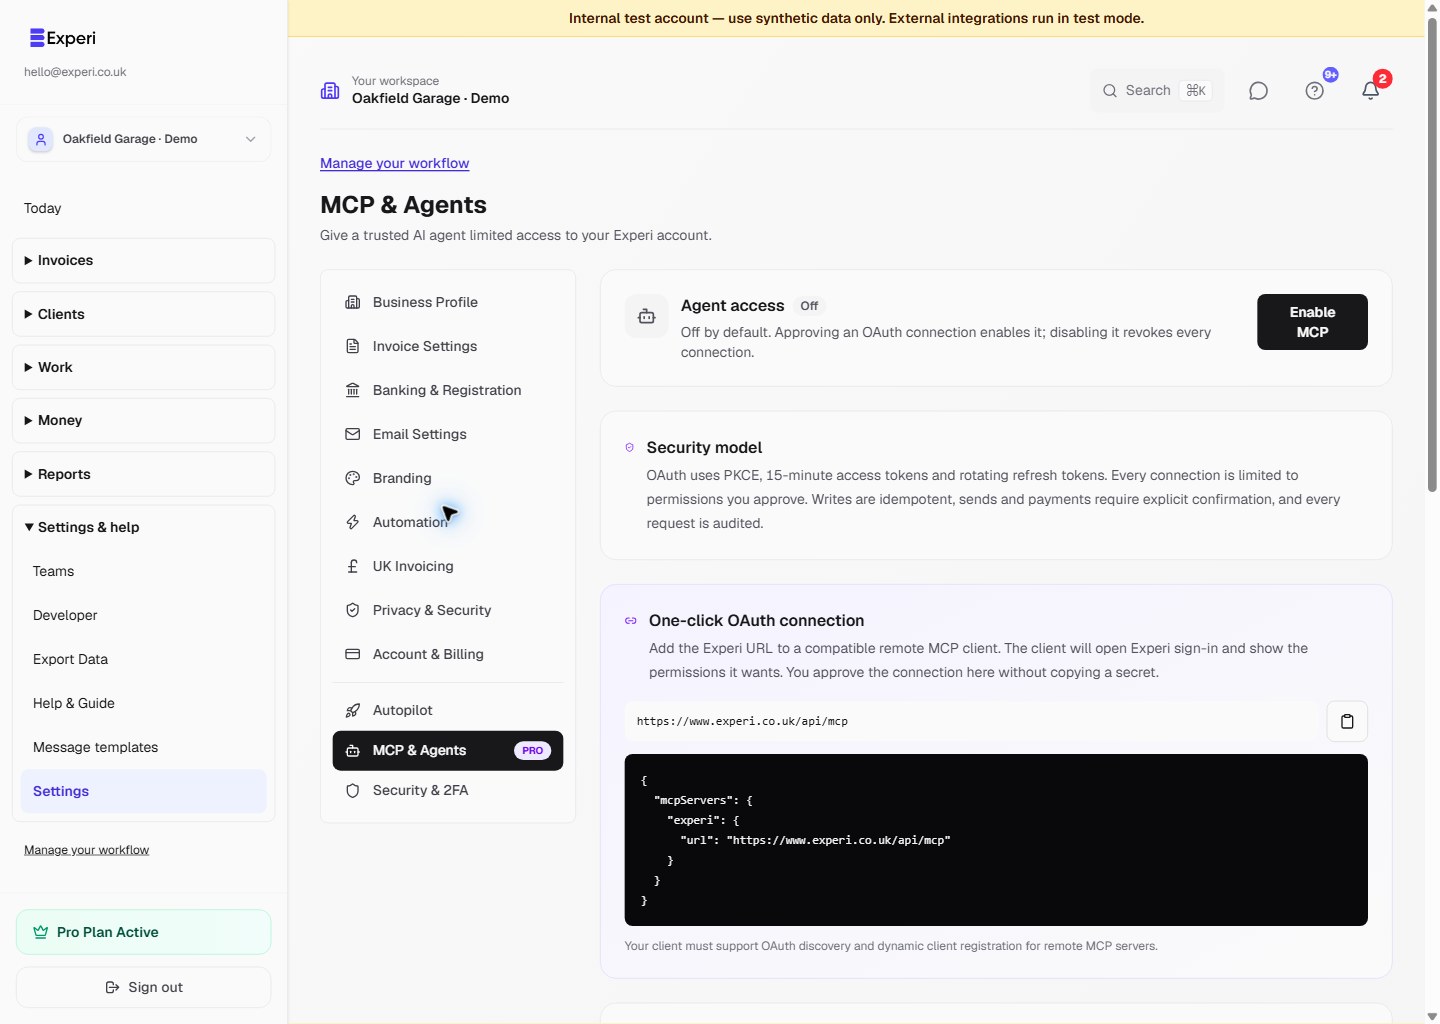
Settings affect future work and can change what clients see. Make small, deliberate changes, then review a draft before sending a real document.
Business settings versus your account
Check the workspace name first. The selected business supplies its invoice branding, contact details and business defaults. Account & Billing, your password and sign-in security belong to your own login, even while you work in another owner's team.
Members do not have the same settings permissions as owners and admins. If a setting is unavailable, check your role instead of asking someone to share their password.
Review invoice defaults and branding
- Check the business name, address and contact information.
- Review currency, invoice numbering and payment instructions.
- Check reusable notes, footer text and message templates.
- On Pro, upload the business logo and choose invoice colours under Branding.
- Use Settings → Invoice templates to manage saved line-item templates; these are different from email message wording.
- Create or open a draft and inspect the document and email before sending.
Do not enable VAT, CIS, reverse-charge, deposit, progress or final-invoice options merely to match a screenshot. Use the mode appropriate to the actual work and confirm the treatment with your adviser. Advanced modes may require Pro. Template selection never copies another invoice's customer, status or sending schedule.
Choose the right integration
The Developer API is for software you operate using a server-side API key. MCP is for compatible AI agents and supports OAuth with separately approved permissions. Read the current API documentation or MCP guide, use credentials only in trusted server-side configuration and never include a key in browser code, screenshots or a public repository.
API and MCP-created invoices still require valid inputs and applicable sending approval. An integration is not a way around account restrictions. Keep the intended owner scope explicit, use an idempotency key for writes and check the response before retrying.
External integrations have their own setup and eligibility requirements. Features subject to rollout controls may not be available in every workspace.
See custom branding, workspace scope, saved templates and automation checks.