

For a garage, the invoice should explain the work as well as the amount owed. Keep labour, parts and vehicle information readable so the customer can understand what was done.
Prepare the job
Confirm the client's billing details, vehicle registration, mileage and agreed work. Add commonly used labour rates and parts to Inventory if you want to recall them later. These are optional helpers; you can always type a line yourself.
Build the invoice
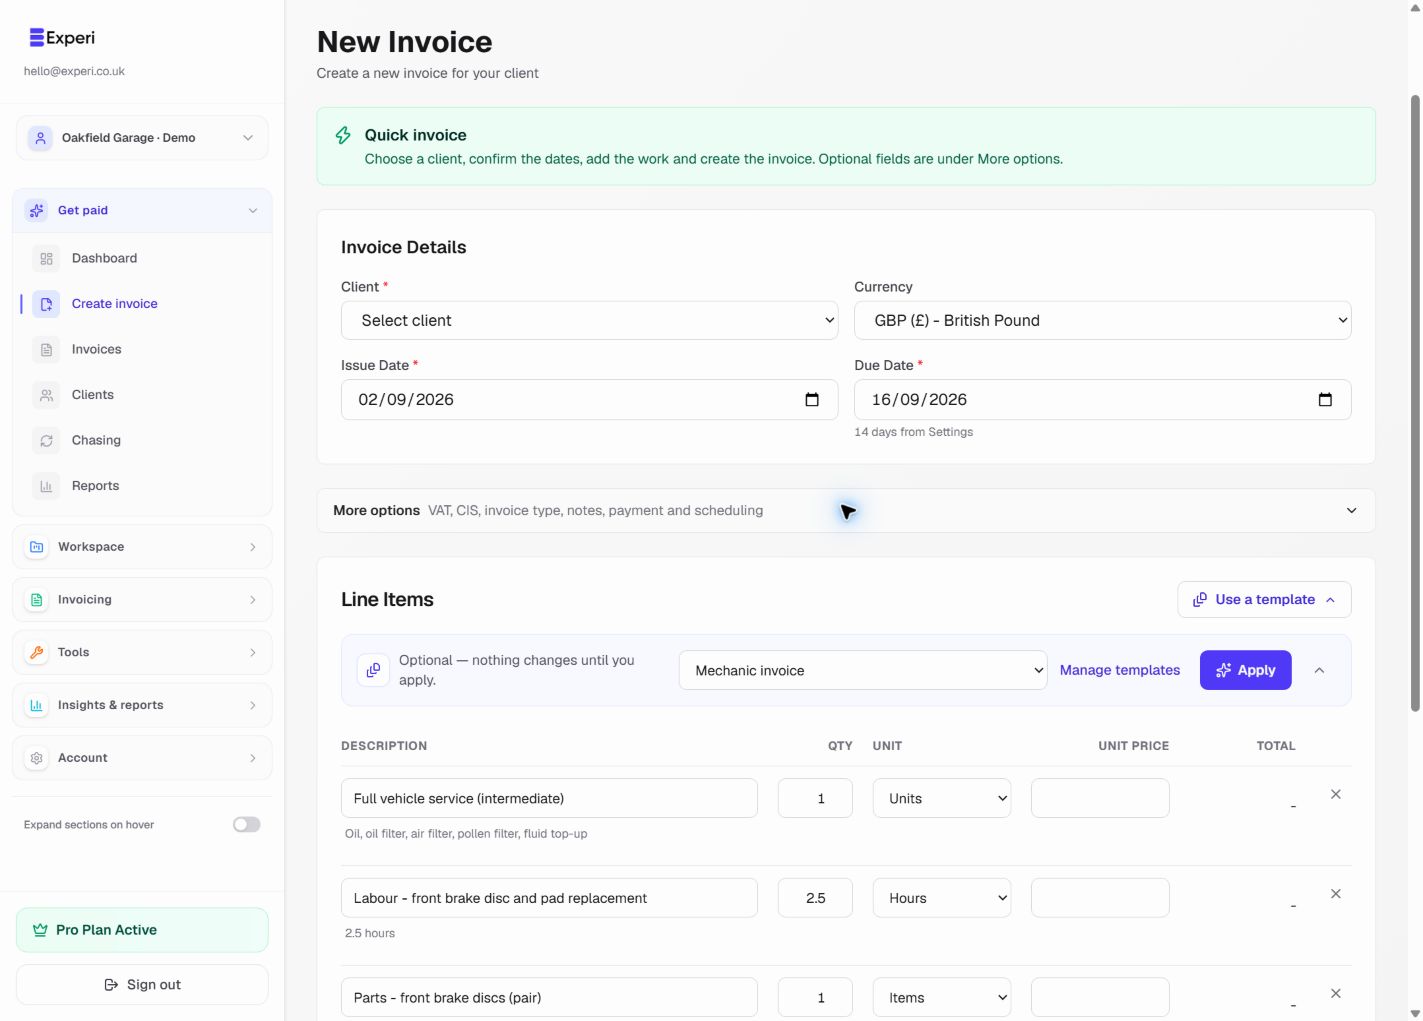
- Open Create invoice in the correct workspace and choose the client.
- Select the mechanic template and choose Apply. A marketing template link only preselects it; it does not silently change the invoice.
- If the invoice already contains work, choose Merge, Replace or Cancel deliberately. Replace can remove existing reusable content.
- Review every suggested line. Curated templates leave prices blank: enter your own rates, quantities and units.
- Choose Add from inventory to recall labour or parts. Check the quantity and current price before adding the selection.
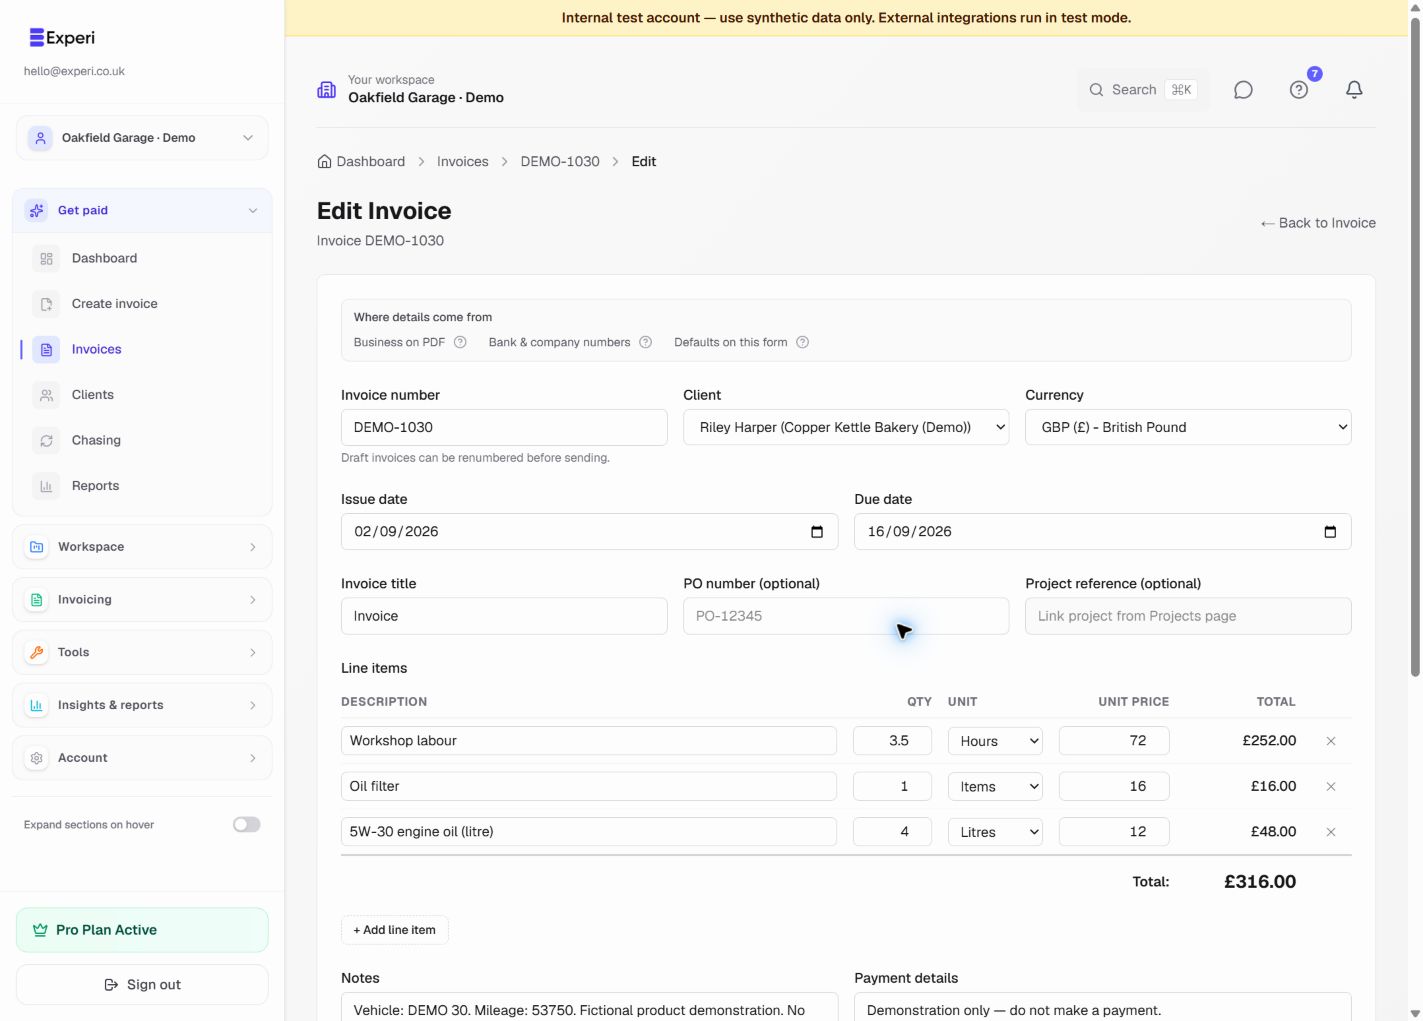
- Replace vehicle placeholders in the notes, add any agreed job-specific wording and review the payment details.
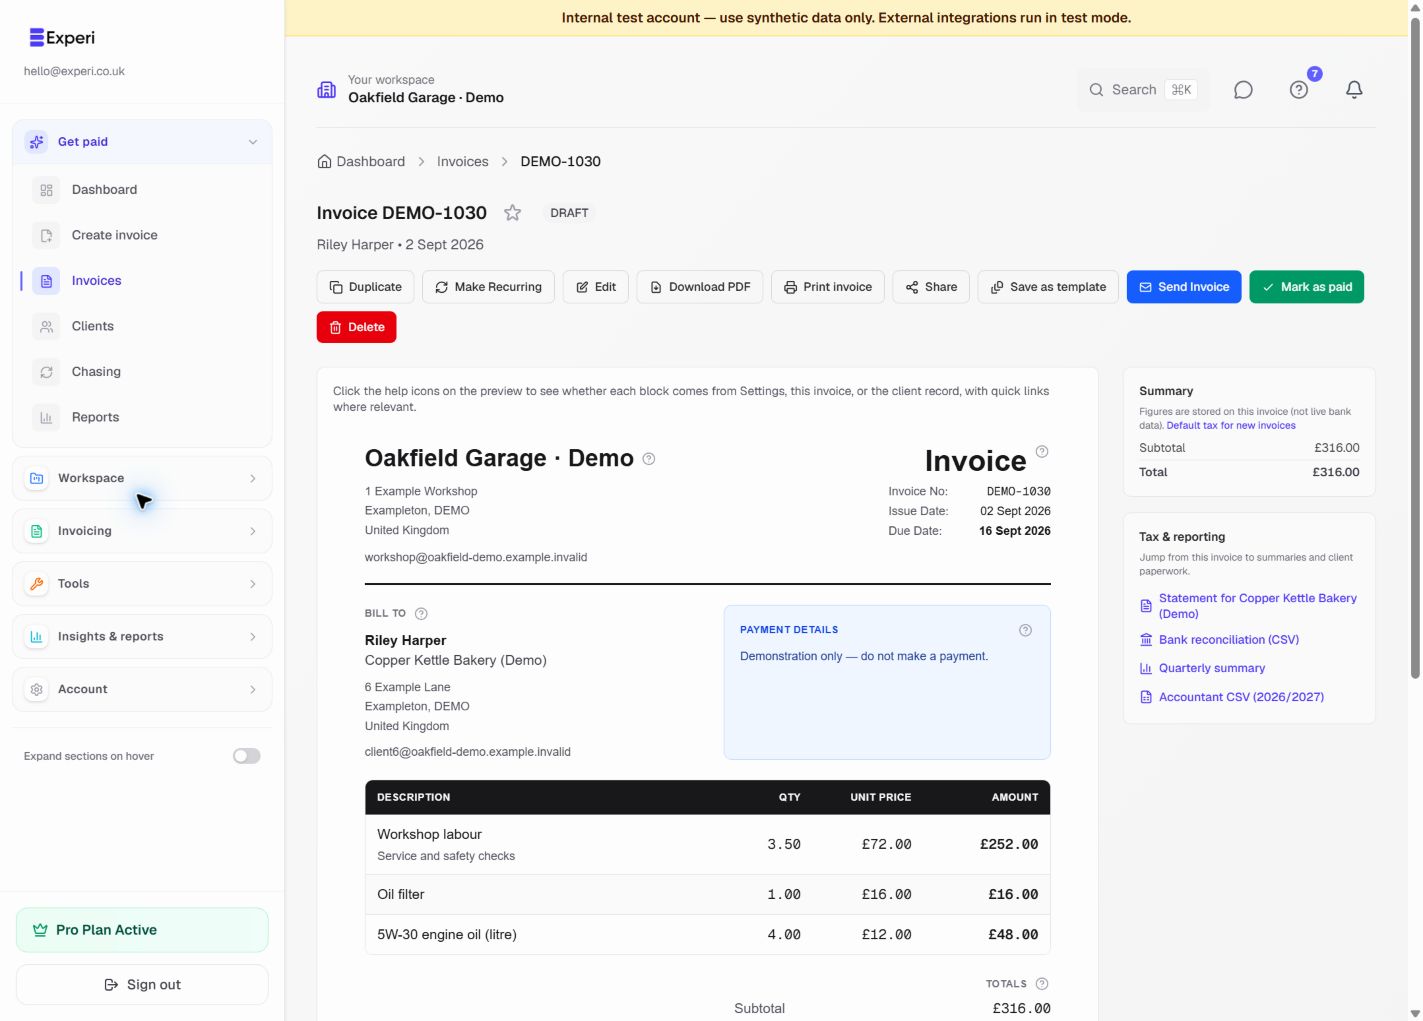
- Save the draft and check its invoice view. Saving does not send it.
Hand over the invoice
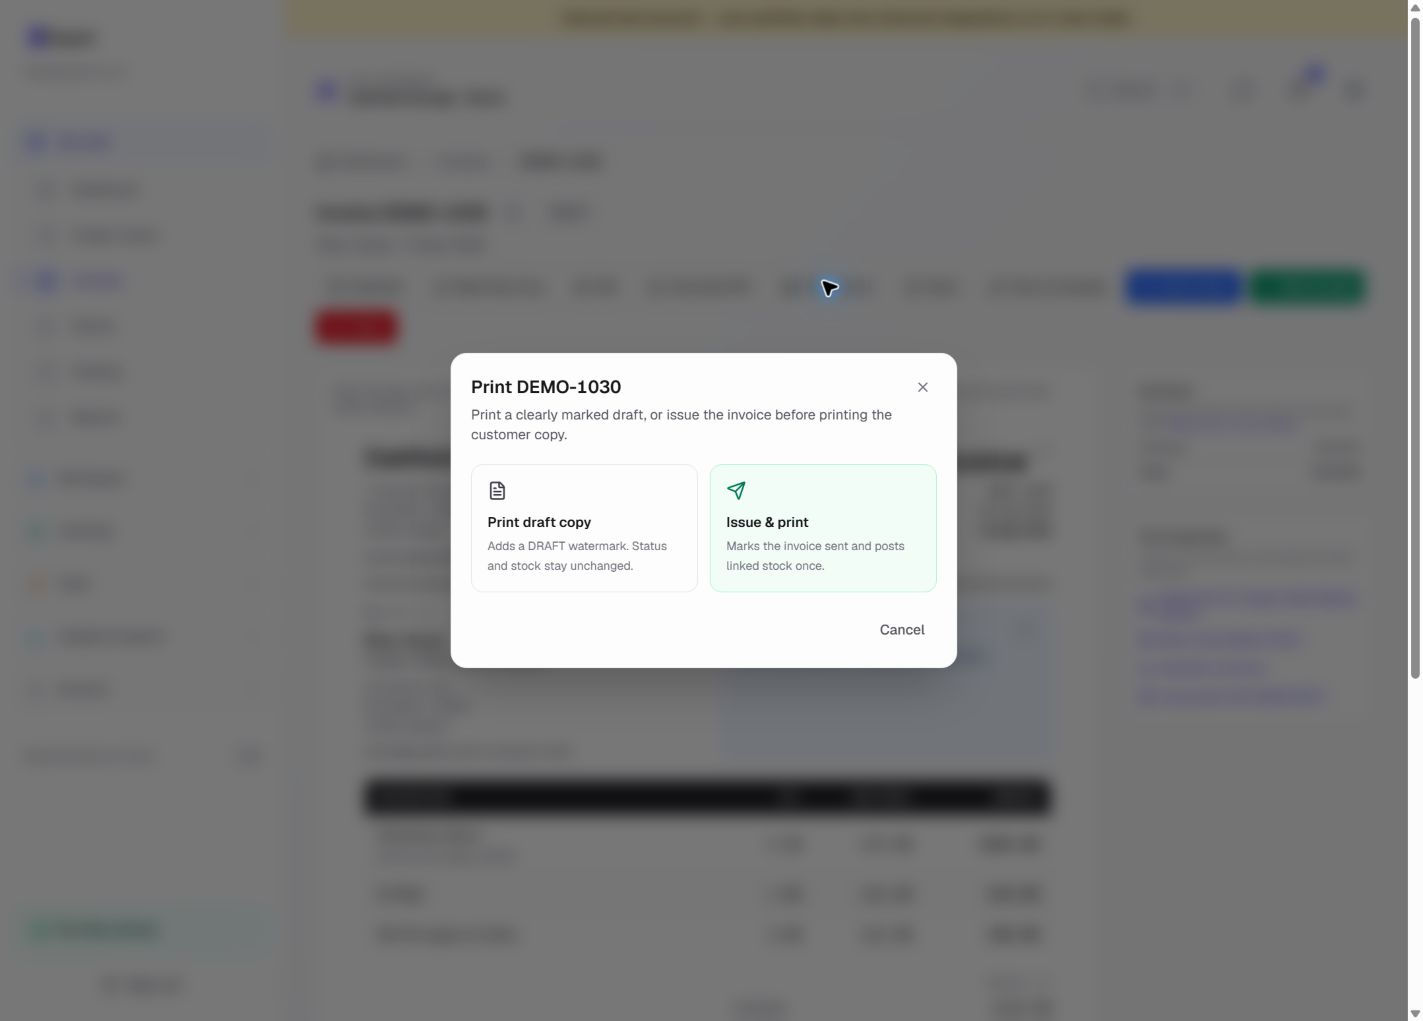
For email, check the recipient and sending access, then use the invoice's send action. For a physical copy, choose Print. Print draft copy leaves the invoice as a draft; Issue & print issues it without emailing or marking it paid.
Stock-linked products deduct once when first successfully issued by email or Issue & print. Services do not change stock. A shortage warning needs review and explicit confirmation; negative stock is allowed, so investigate the cause afterwards.
Cancelling the browser print dialog does not undo issuance. Printing another copy does not deduct stock again.
Reuse the work
Use Save as template on a suitable invoice. Your own prices and reusable content are retained, but the client, number, dates, status and sending schedule are not copied. See template behaviour and printing choices.